The Manchester Machine Makers are back in action. Our talented team of high school students is gearing up to design and build a robot capable of navigating the challenges inspired by life beneath the ocean’s surface. This season’s theme takes us underwater—both metaphorically and mechanically. Inspired by the wonders of ocean ecosystems, Into the Deep challenges FTC teams worldwide to build robots that can complete tasks representing the balance and complexity of marine life. From collecting color-coded specimens to lifting baskets high above the competition floor, our robot will need to perform with precision and adaptability to succeed. Teams can earn major points by strategically placing samples and hanging their robots during the End Game, simulating efforts to protect and explore the depths(
Over the past 6 weeks, the Manchester Machine Makers have been hard at work sketching designs, experimenting with prototypes, and coding algorithms to bring our competition robot to life. As always, teamwork is at the heart of what we do.
Be sure to follow our progress, cheer us on, and learn more about how Into the Deep is not just an underwater adventure but also a journey of discovery in STEM.
Join us at the library on September 7th between 11:30am and 2:30pm to kick off the next FIRST® Tech Challenge ocean-themed competition season: DIVE: INTO THE DEEP!
Manchester Machine Makers (MMM), a 4-H sponsored FIRST Tech Challenge team, is hosting the annual kickoff of the 2024-2025 competition season for Southern Vermont at Manchester Community Library. At noon, we will watch the FIRST® live-streamed announcement and game animation. With a couple of basic robots, we can drive around the full game field provided by FIRSTinVT and will share printed copies of the new game’s Competition Manual. After the announcement, there will be time to brainstorm!
R.S.V.P.here, orto ftc16221@gmail.com so that we know how much pizza to bring. Donations to cover food and drink are graciously accepted, as are donations to help us fund our robots.
As a 4-H club, MMM is open to all students grades 7-12 (ages 12-18) in the local area who are interested in Science, Technology, Engineering, Art, and Math (STEAM) and/or robotics. MMM invites anybody interested in STEAM to join us for the kick off and learn more about what is being done to promote STEAM education in the community.
During the 2024-2025 FIRST® season, FIRST® DIVEpresented by Qualcomm, teams will use their STEM and collaboration skills to explore life beneath the surface of the ocean.
Along the way, we’ll uncover the potential in each of us to strengthen our community and innovate for a better world with healthy oceans. Join us as we explore the future.
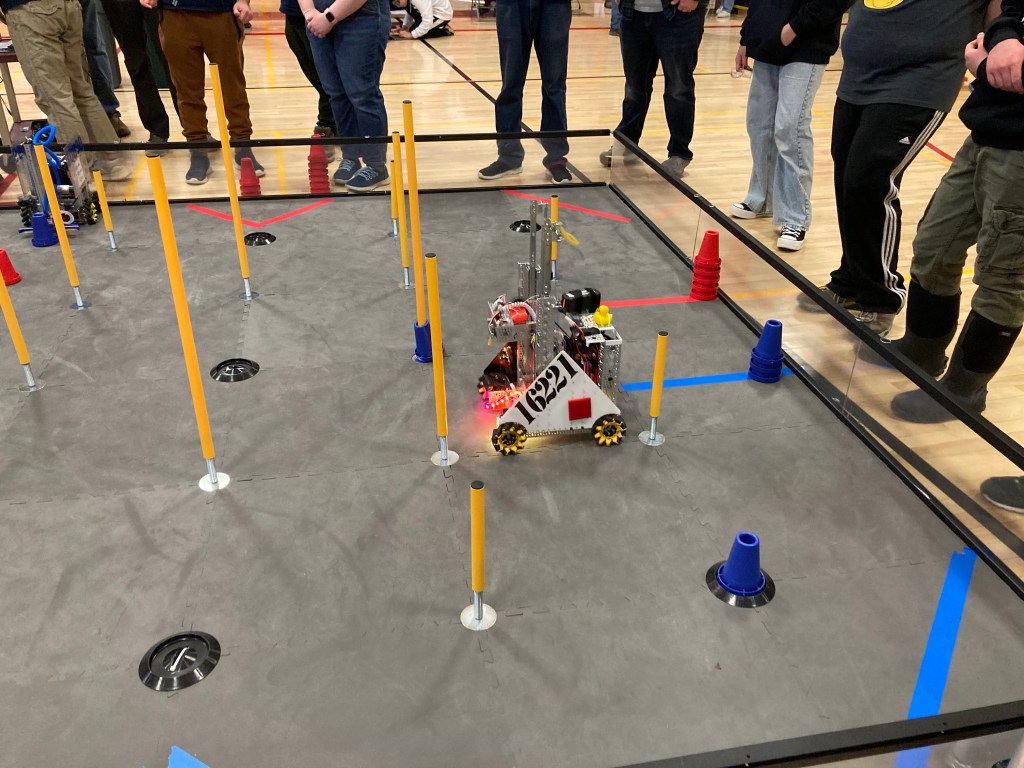
During the state competition our robot experienced issues with strafing, arm stability, and unreliable rigging for the winch. In preparation for regionals we have been working to remedy these issues by altering the robot’s frame, reinforcing the winch system, as well as adding an additional point of contact on the arm’s axle.
In the weeks leading up to the competition, as well as during the competition, when the robot was maneuvering sideways (strafing) it had the tendency to rotate simultaneously. Upon disproving our original theory that this was a software issue, we understood it to be caused by the drive base being disproportionally longer than it was wide, which consequently resulted in an uneven weight distribution. To remediate this issue, our hardware team decided to make the frame of the robot more square, which included disassembling the entire left channel of the robot and lengthening it, which moved the weight of the robot back in respect to its coordinate system. In the time since altering the frame of the robot, we have observed more consistent and accurate strafing.
Unfortunately, the original square knot supporting the weight of the robot during suspension came undone during the competition. Since this knot could not bear the tension caused by the robot, we decided to replace this square knot with a running knot that, through numerous trials, has proven to be a much stronger method of suspension.
In addition, we have observed a lack of stability in the robot’s arm, which presented as a slight wobble during suspension. We decided to reinforce the robot’s arm by adding an L-channel along the length of the arm.
In order to integrate autonomous and TeleOp, we consolidated our separate versions of each subassembly into one version of each subassembly. By integrating Aleks and Miles’ separate coding subassemblies, we achieved a program that is easy to navigate and alter, with all-around better functionality for our programmers.
During our February 10 competition, our 3-D printed airplane launching mechanism exploded/shattered. In order to prevent this issue from arising again in the future and causing disaster, Isaac decided to reprint the drone launching carriage diagonally. This new and improved diagonal design means that the sheer force on the new part is out of plane with the print layering of the part.
All in all, we are looking to be on-track for our regional competition in April!
Manchester Machine Makers at Lamoille Union High School
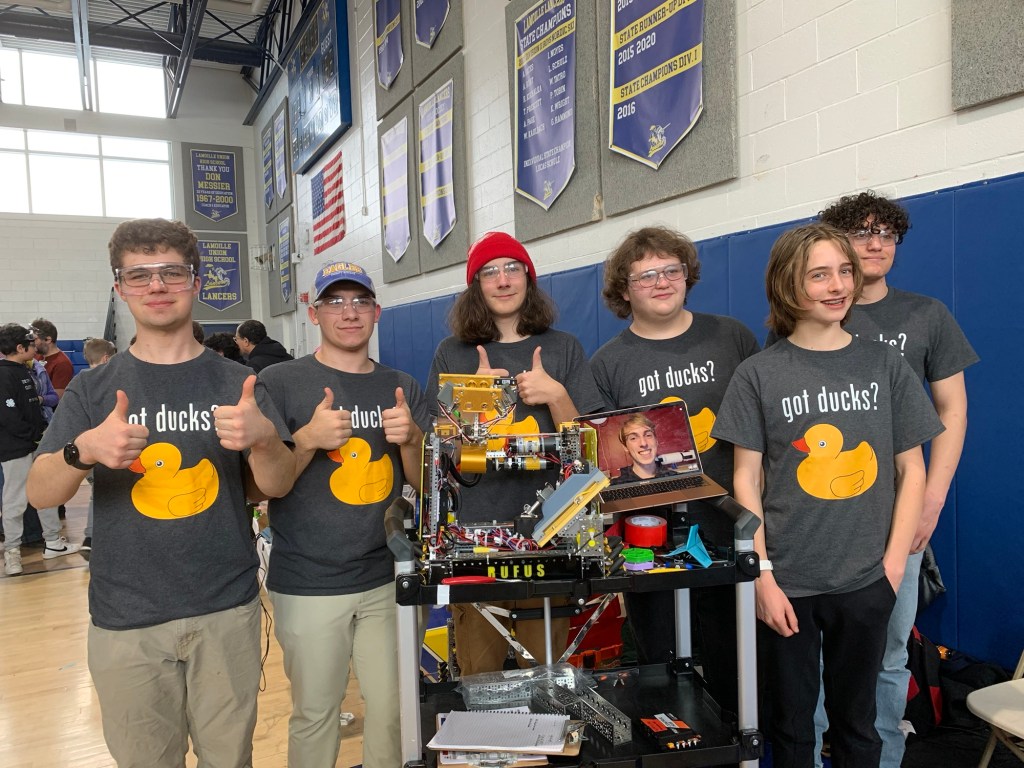
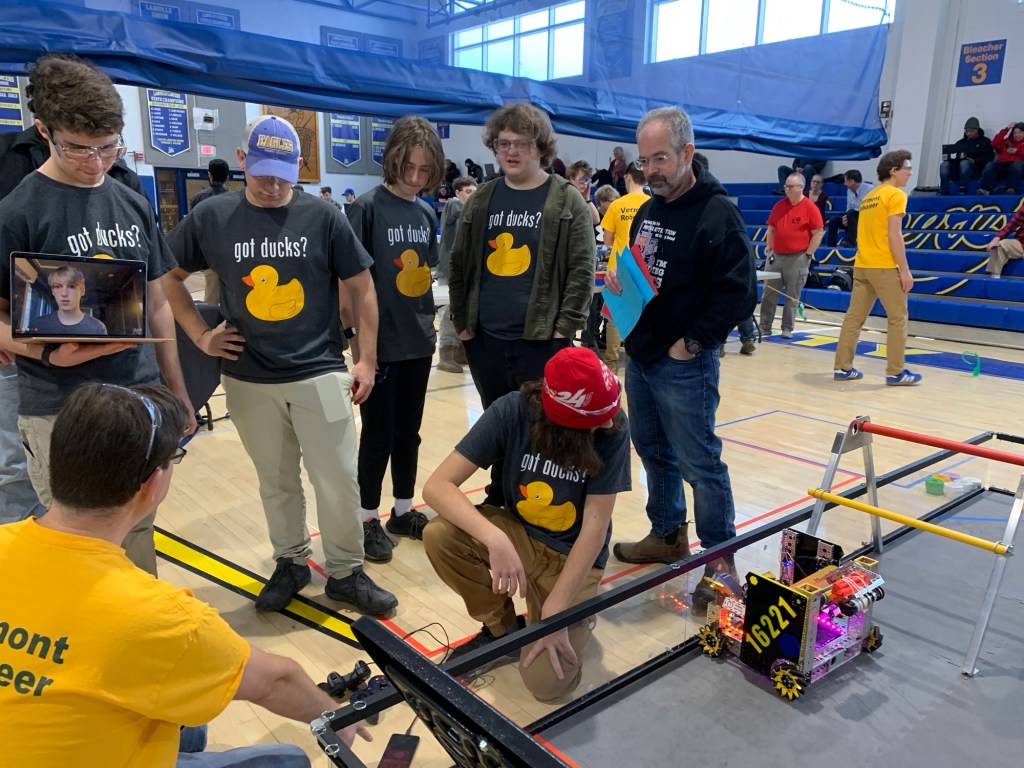
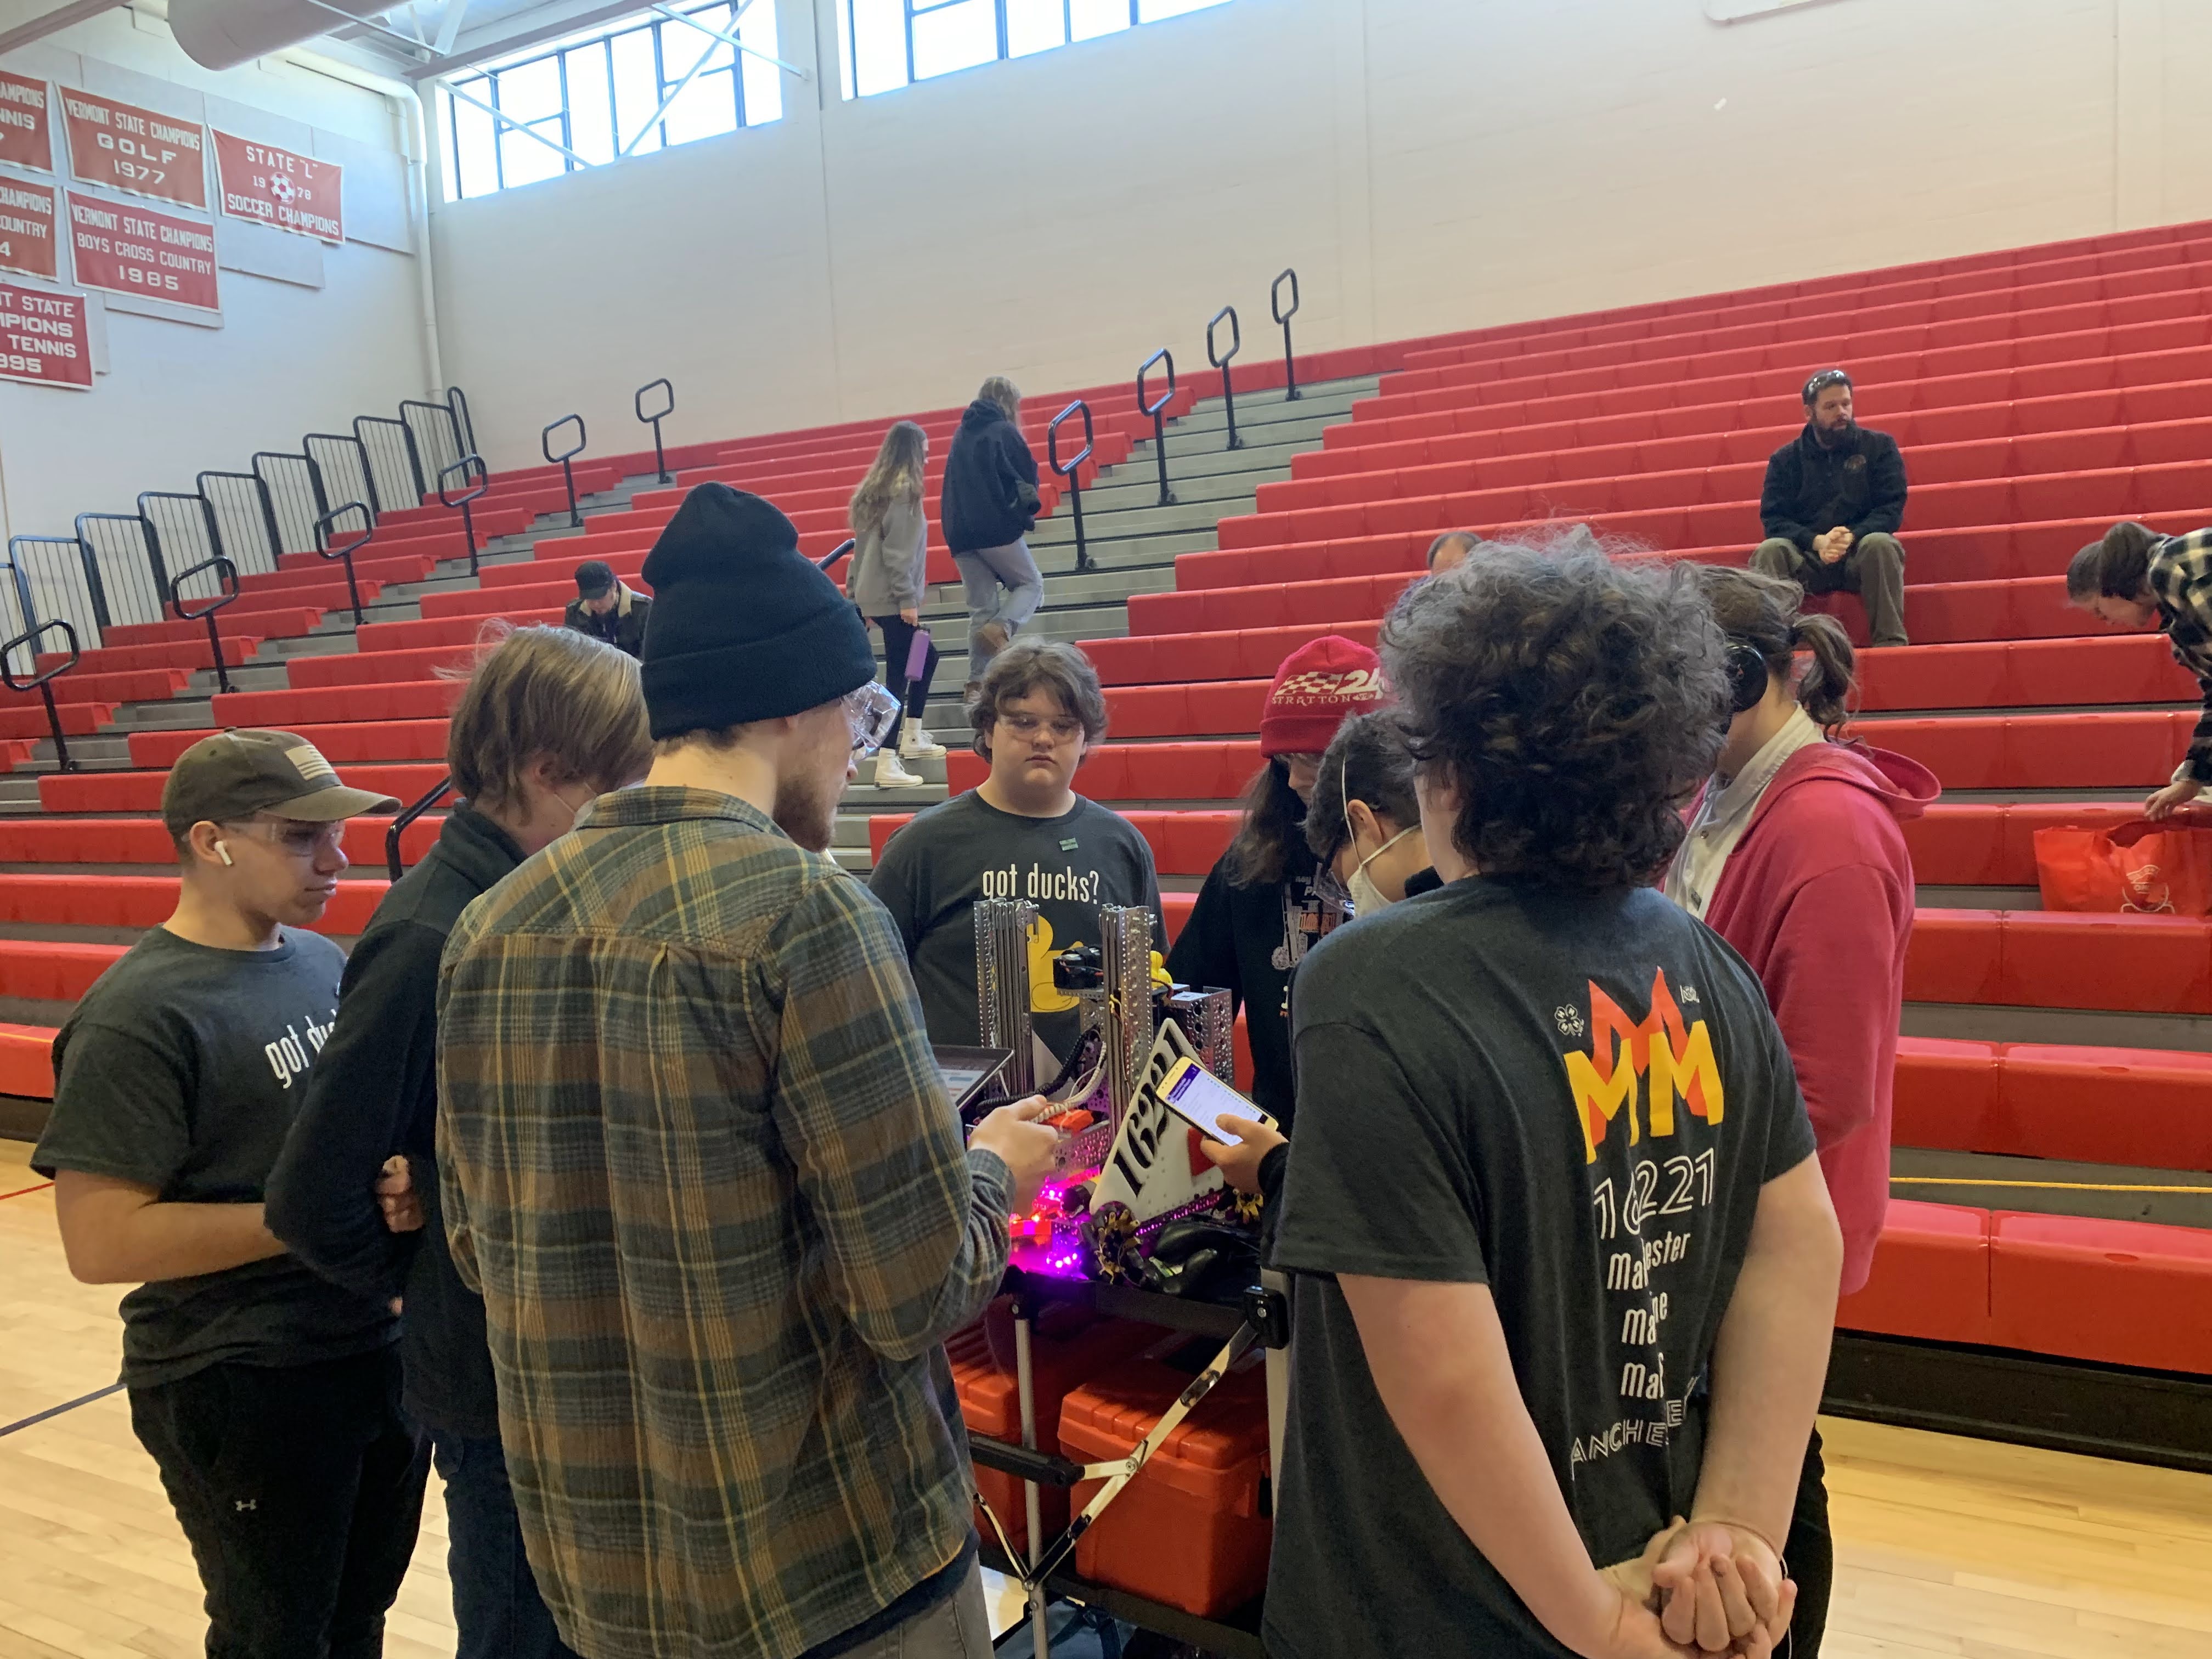
Today was the day! We all travelled north to attend the Vermont State Championship FIRST Tech Challenge competition, where the team had a successful and eventful day.
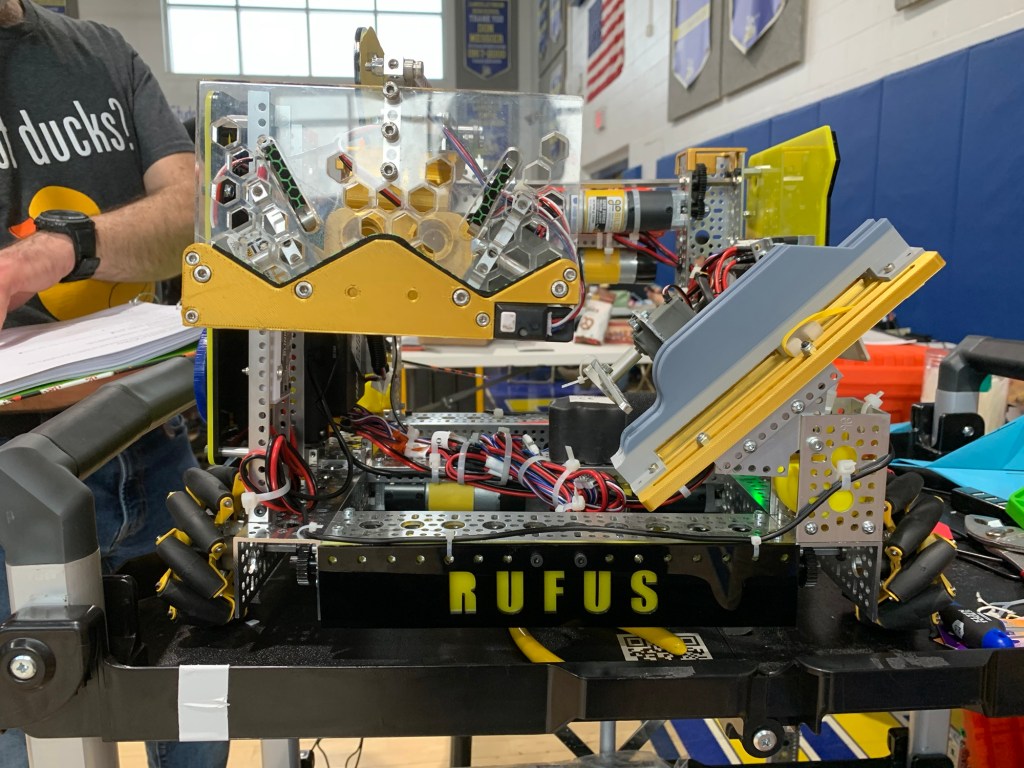
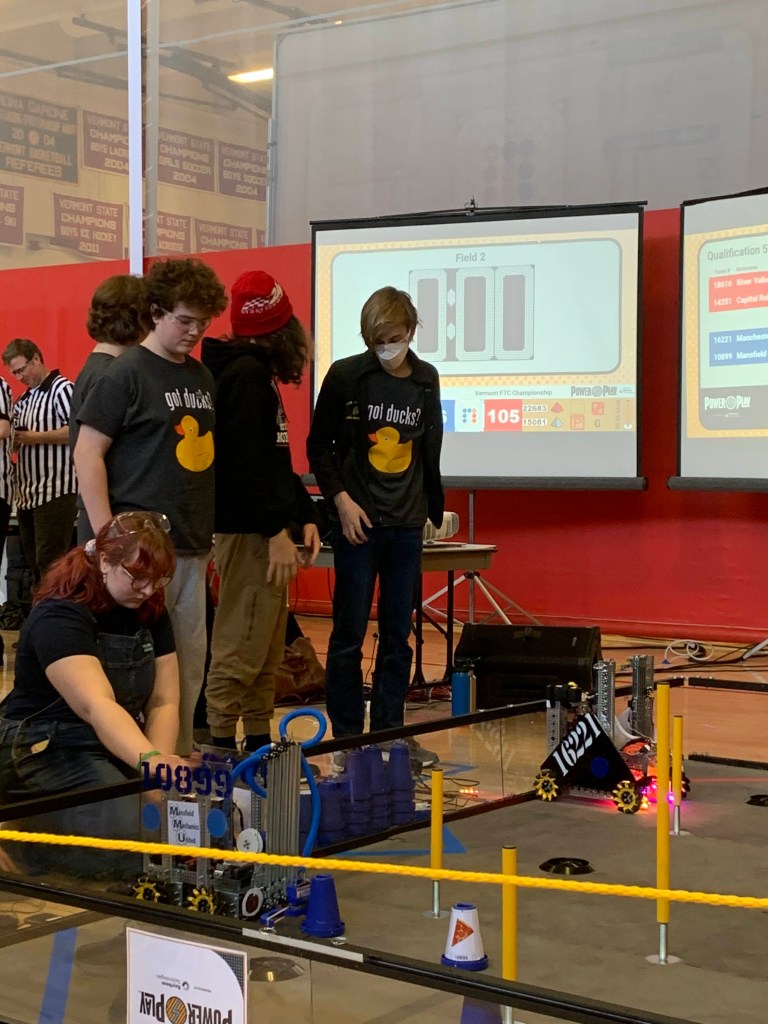
It was a rough start- Rufus, our robot, suddenly began having connection issues, switch problems, and more! We had to return at the last minute to finally pass the field inspection, but even after we thought it was working, the next thing we knew it had stopped again. With the help of the Mansfield Mechanics United, our first alliance partner, we learned that the way we had connected our hubs together wasn’t the best way, and they loaned us a cable to get working.
The first match was rough, with the hurried debugging process having reversed cables and left some hardware uninitialized. But in the few moments before the next match the team dove in and got it fixed up, and from there our ranking steadily improved.
The judges gave the team an excellent evaluation on their presentation, and came around during the day between matches to talk further about the robot and the design and build process.
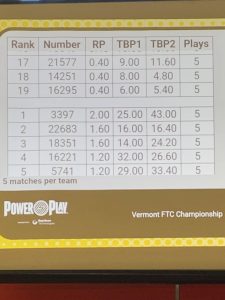
We followed up with successful match partnerships with Insufficient Power, the Cookie Clickers, the Wired Cats, and a CVU team. After the last qualifiers were done, we were in fourth place!
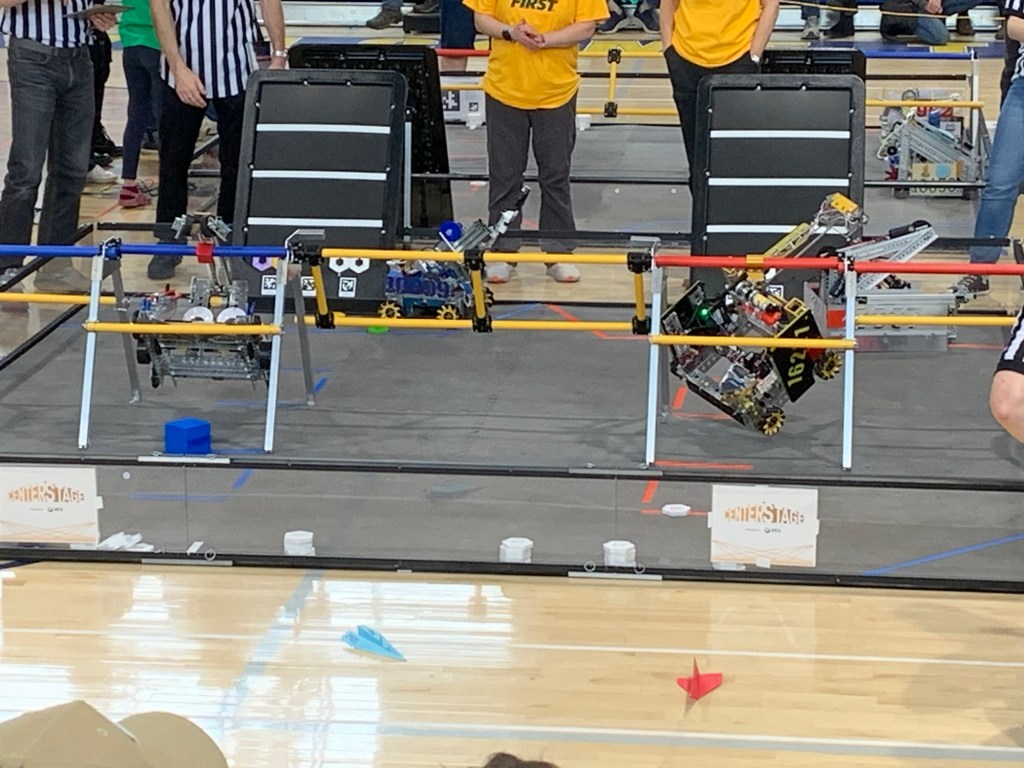
After a variety of negotiations, we agreed to pair with the Wired Cats again for the semifinal round, where we won two of three matches to proceed to the finals. Although we were knocked out of the final round, the Drive team did a fantastic job with Rufus. Despite irregular steering, our alliance built two mosaics in each of our last two games and worked together nicely.
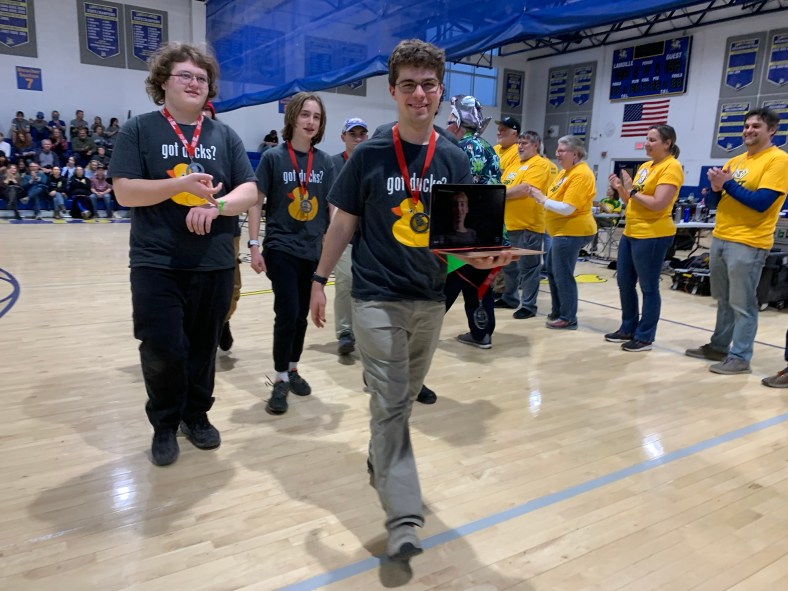
In the end, the team brought home medals as the second place alliance partner, and was honored with the Design Award, and first runner up for the Control Award – and we will advance to the regional tournament in Massachusetts in April!
We have several improvements to make in hardware and software, and Rufus is going to be amazing – but a huge congratulations to the team for their incredible accomplishments today and throughout the season!
Good News! The robot is almost completed. The team is currently focusing on finishing the programming and polishing the pulley system. The team is still undecided on a name for the robot so far, but we are very hopeful for another great name. We can’t wait for the competition in February!
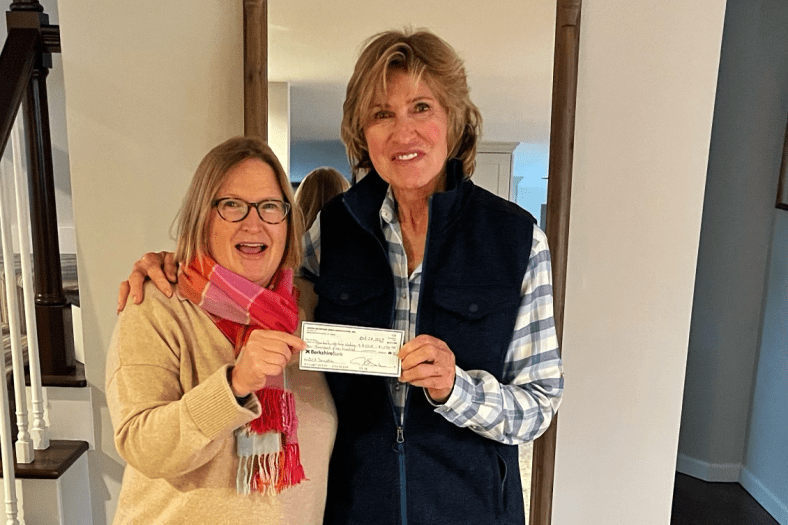
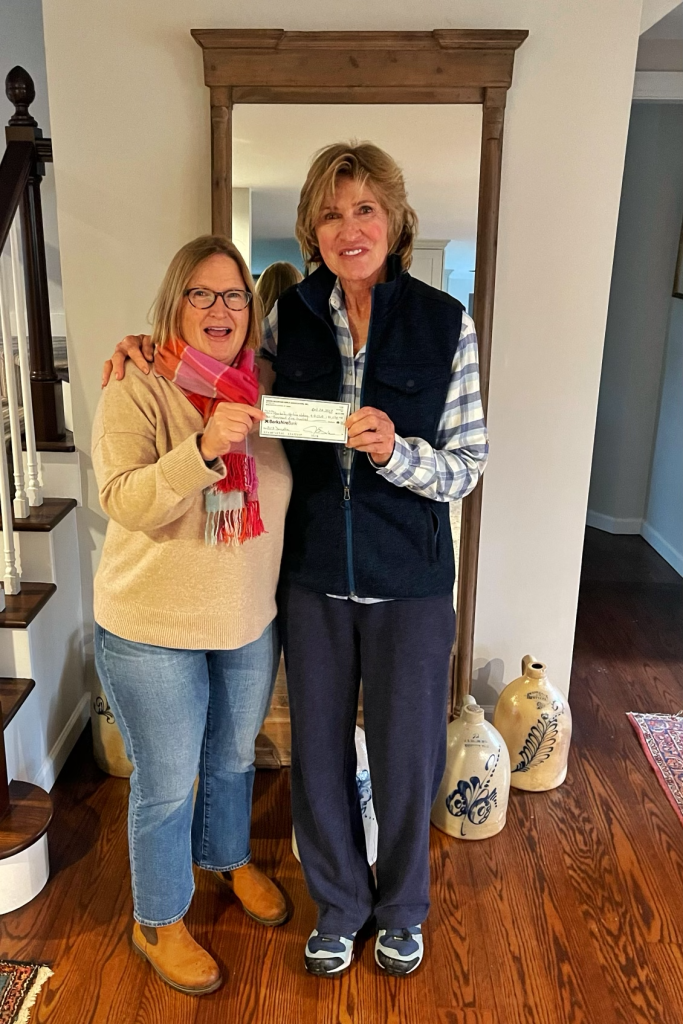
Some great news for our supporters as we begin the season of gratitude: the Manchester Machine Makers was recently the grateful recipient of a grant from the Green Mountain Girls, a local organization with a heart of gold!
The Green Mountain Girls is a volunteer organization that supports all the local charities in the area. We are incredibly honored to have their support – and we hope that we earn it by the work that we do to provide STEAM activities to inspire our teenagers (or at least to keep these all-too-bright kids out of trouble)!
If you’re looking for a group to donate to in order to round out your fiscal year, of course I’d say give it to us first; but perhaps I’m a bit biased. The Green Mountain Girls come in a pretty close second, though!
Come join us today, Saturday 9/16/23 at 11am – 1pm at the Manchester Community Library as we share the stage with the Fiery Froggies FLL team and the iBots FRC team, and Vermont artist James Merrill to kick off the arts-themed FIRST season!
We’ve had a nice summer break and are beginning to get ready to dive in once again to the world of cooperative and competitive robotics! The 2023-2024 challenge will be released on Saturday, September 9th. We’ll begin brainstorming immediately!
This year’s challenge will bring the Arts into play – no longer STEM, but STEAM. How exactly, we’ll find out on the 9th; but we have a few clues from the revised Game Manual 1: we’ll need to make a team-customized game element or two, and this year they’re introducing AprilTags into the game.
Sounds fun, right? I bet you’re thinking, “gosh, I’d like to do that too! I wonder, when do they meet?” Luckily, I have an answer for you: Saturdays, starting September 9th, at our HQ in the Smith Center basement at Burr & Burton Academy. We will meet on 9/9 at 11am-2pm, but more usually we’ll meet from 9am-12pm. And, we’re always ready to welcome new members!
FIRST and Qualcomm present the 2023-2024 Robotics Season, FIRST IN SHOW.
Contact us for more info, and keep an eye on this website if you’re interested in what we’re doing.
Last weekend, a couple of our team members attended the 2023 FIRST Global Inclusivity Conference, hosted by team 5773 Ink & Metal in San Francisco, California. There were a wide variety of teams and mentors from several different countries in different parts of the world, and we all presented our teams and then talked about problems we were having. Then, we talked with mentors (some of whom were in the official FIRST organization) in order to get advice about our robot, our process, our designs, and our team.
What a day! We brought Ahnold up to CVU for the Vermont FTC Championship tournament on February 11, 2023. The team started out before dawn in order to arrive in time to present to the judges in the very first slot at 7:30am.
Then it was on to the robot inspection, where the officials made sure that everything about our robot and game elements was legal. Turns out we’d made a mistake on the size of our custom element, so they clarified that for us and we were able to adjust our ducky rings to suit before our first match.
There were two practice fields laid out for teams to use as needed, which gave plenty of room for everyone to test functionality and work on driving skills. We made sure that our autonomous worked well, and that our drive team knew where to place the robot on the field, and practiced retrieving cones and scoring them. Since we don’t have a full field set up at our workshop, we’d only had the chance to explore the real space of the field once before, with the Cookie Clickers in Bennington.
Coaches meeting, drivers’ meeting; our drivers were Takoda and Isaac, and Carter was the drive coach. Zach was our team’s “human player”, having studied the rules so that he was prepared to set out cones and scoring elements correctly and promptly. The schedule was devised, and the matches began!
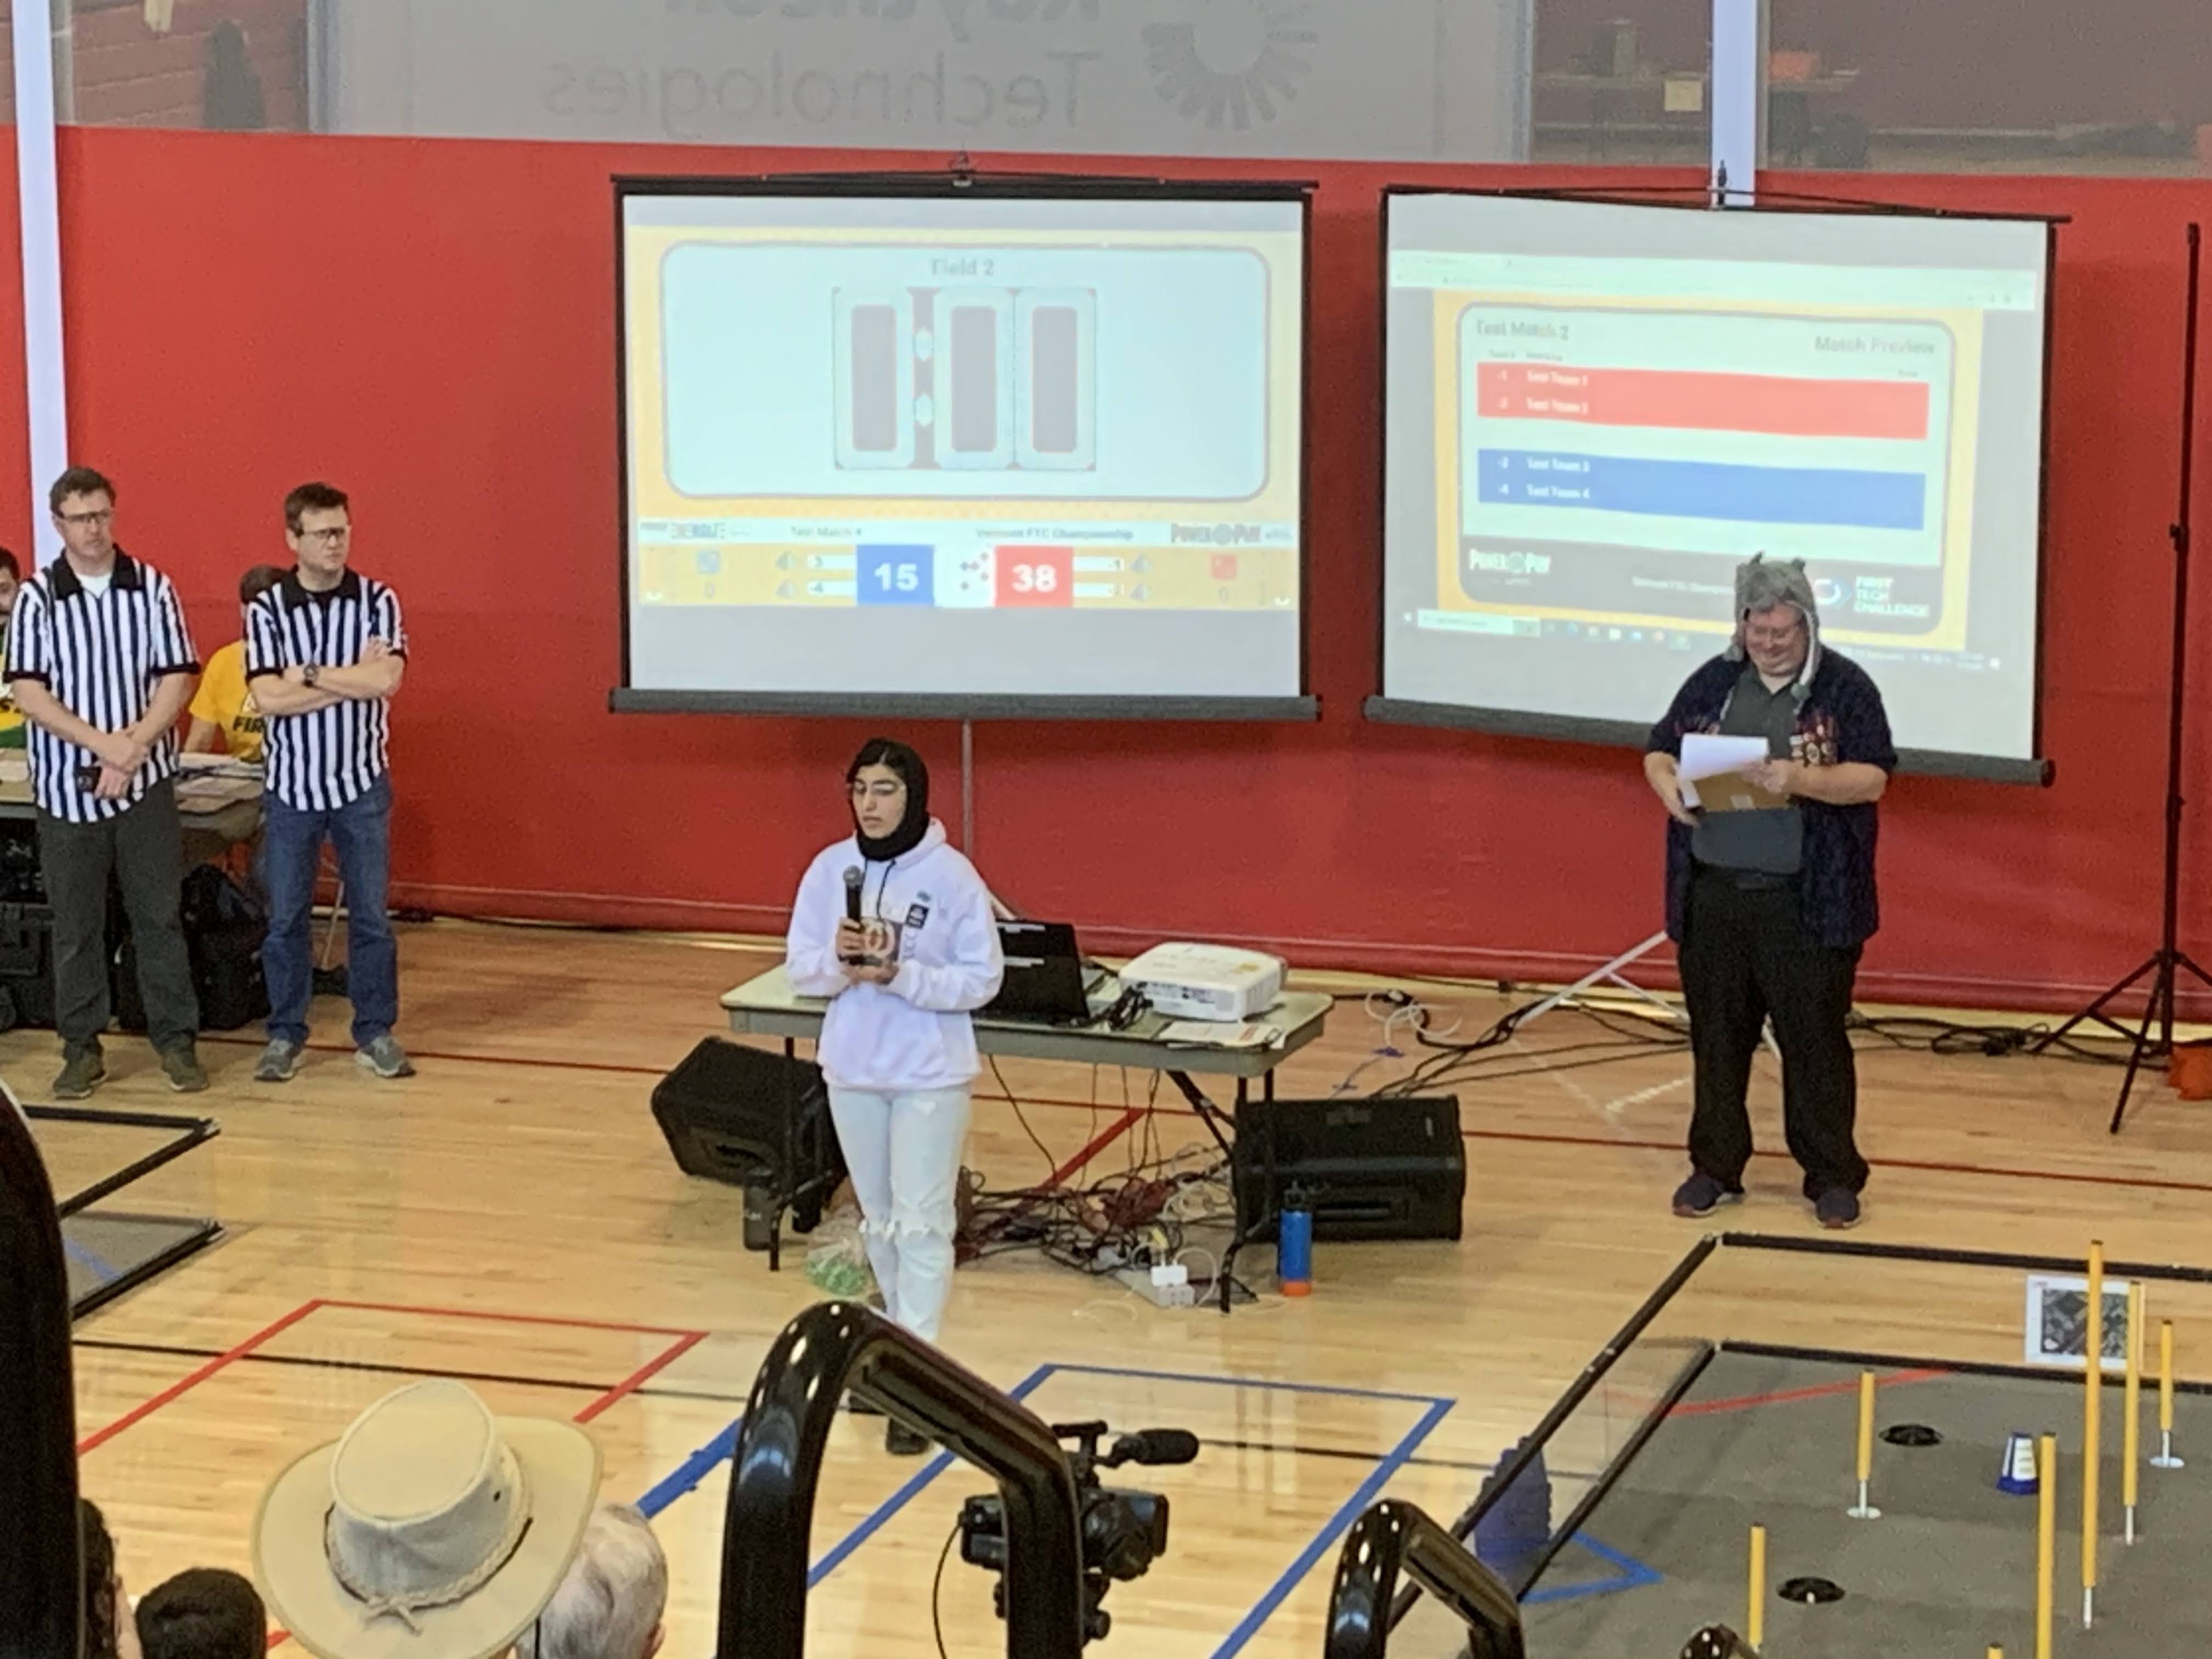
The opening ceremony featured a young woman from Afghanistan’s all-female FTC team, who had escaped and were now scattered around the world where they could continue studying engineering. She lives now in the Brattleboro area and is attending college in nearby Massachusetts.
Ahnold worked beautifully! Our autonomous routine was absolutely consistent throughout the qualifying rounds; and our drivers were able to score cones reliably, worked with our alliance partners to create circuits, capped with our custom element, and even managed to park in the right place by the end of the matches.
Between the matches, judges and other volunteers came around to see how all the teams were doing. The atmosphere was one of friendly competition, and we went around and admired other robots, loaned equipment if needed, and generally enjoyed the community. We got some great ideas from the Robohawks for a drivers’ station console, too!
We came into the competition hoping to be in the top 10 out of 19 teams. As the matches went on, we were consistently above that measure! We began to hope.
At the end of the qualifying rounds, not only had we achieved a top 10 ranking, we were fourth overall, and that gave us a sure spot as an Alliance Captain in the semi-finals!
We had enjoyed a very successful round with Mansfield Mechanics United early in the day, and so we were pleased when they accepted our invitation to be our partners. Visions of Nationals danced in our heads…
Unfortunately, our last qualifying round had involved a collision with the arena wall that misaligned something, or perhaps broke it. One of the wheels wasn’t working correctly. Although our medic gave the wheel assembly a thorough check and verified that it was turning easily and correctly, Ahnold limped through the semi-final matches and was not able to advance to the final rounds.
We cheered on the CVU Redhawks, the CVU Robohawks, Hive Mind and Bubbert Innovations as they played out three full rounds of the finals for an edge-of-the-seat finish!
Vermont will be sending both CVU teams to Nationals to represent our state. However, our day didn’t end there!
Awards
The Manchester Machine Makers succeeded beyond our wildest dreams on the field last Saturday. We also were recognized as a team and individually for our achievements:
Isaac Vernon was chosen (once again!) as a Finalist for the Dean’s List Award, which will be selected and announced at Nationals. The team sure did nominate him for a reason! We’re proud of you and glad to have you as our team’s Captain.
The Manchester Machine Makers was recognized in third place for the Innovate Award. From the FTC Award Descriptions information sheet:
The Innovate Award celebrates a team that thinks imaginatively and has the ingenuity, creativity, and inventiveness to make their designs come to life. This judged award is given to the team that has an innovative and creative robot design solution to any specific components in the FIRST Tech Challenge game. Elements of this award include elegant design, robustness, and ‘out of the box’ thinking related to design.
More importantly, the team earned first place out of all Vermont teams for the Control Award, recognizing our programming for both driver-assist functions and for the most consistent Autonomous Period performance of any team that day, with a solid 20 points per round!
The Control Award celebrates a team that uses sensors and software to increase the robot’s functionality in the field. This award is given to the team that demonstrates innovative thinking to solve game challenges such as autonomous operation, improving mechanical systems with intelligent control, or using sensors to achieve better results. The control component should work consistently in the field.
Engineered Printing Solutions for their generosity of funding and support of our members with their time, ideas, and opportunities;
Burr and Burton Academy for allowing our team to use its space for storage and meetings;
Vermont Academy of Science and Engineering for their Hands-On Science and Technology Grant, giving us the opportunity to experiment our way to success;
And a huge thank-you to all of our donors, friends, family, community members, FIRST volunteers, and fellow FTC Teams for supporting us in our quest to become engineers!
Ahnold will be at BBA along with our Engineering Portfolio while we enjoy our February break and then have some more fun with robotics this spring.